Showing posts with label GPS. Show all posts

Auto Change Tasks

Auto Change Tasks
Using the GPS capabilities feature will allow tasks to be changed automatically with the employees mobile devise and his punches at locations.  The following steps will enable this feature.

When a task is created, be sure that the address is entered.  The address must be entered at time the task is created, it cannot be entered after.  If the project does not have an address you must be sure to enter the coordinates instead.  After you enter the address or coordinates set the SmartFence to "Default" and SAVE
The next step is to set up the SmartFence to trigger the automatic changing of tasks, to do this complete the following:
      In the Administration tab, select "Rules, Actions and Fences" and select the "Manage SmartFences" option.  Chose "Default".  Two rules will need to be created, both being applied to Default.  
The first rule will start a task when an employee enters an area.  On the first screen, set the radius to the desired size and click "Create New"
The next frame will set your rule.  Enter the name of the rule "Start Task" and set the trigger "Entering Area" - it is best to use the terminology that best fits your company when naming rules.
Click on "Create New Action"
Name the Action same as the Event "Start Task" and click "Automatic Field Device Event", Make the Event Type:  "Change Task".  Do not click "Set Task Info" this will allow any location to be accessed with this rule. Click SAVE and return to previous screen. Click SAVE again.
From this screen, the 2nd rule can be created: click "Create New"   This rule will switch the employee to "Travel" when the employee leaves the area.  
The process is similar.  To create a "Leaving Area" rule under Identity Name, type "Travel" in the Trigger field type "Leaving Area" or another name that works best for the business.
Click "Create New Action" and select the same Change Task Event, this time select "Set Task Info"
A drop down will appear with a list of all the tasks for all teams.  Select the appropriate one for this action.  Select SAVE and return to the first screen (where you set your radius) Click SAVE.  The rules are now ready to be used.
When an employee clocks in the GPS will be activated.  The below example is how the History may appear at the days end.
The employees time-card task detail report will appear similar to below.

Map Default Filters

Default Filters for Maps
When logging into the Administrator Portal the below status bar will appear:
The filters are defaulted to the option that will allow you to see everyone at any time, if they are clocked in, clocked out or on break.

Notice the gear icon.  This will take you to the settings, allowing the default settings to be customized to your preferences when you sign in.
Click on the Gear, The status bar settings will appear and you may adjust them from the pull down menu.
Choose your settings and click SAVE
The default options will be changed to your custom settings and will remain set each time you log-in.

Daily Mileage Report

Daily Mileage Report
Our "Mileage Report is focused on total miles traveled per task..  Our "Daily Mileage Report" will calculate gasoline costs or monitor travel distance.

To access the "Daily Mileage Report", go to REPORTS tab and to the "GPS Location Reports:
Make sure to select the appropriate teams or the user you wish to focus on (or leave unfiltered to view the whole company), select your "Start" and "End" dates and click "Generate Report," or "Produce as CSV file" if you prefer to download the report to a spreadsheet.
This report will allow clock in and clock out times, total hours and traveled distance all on one line.

Clock-In Lock

Clock-In Lock
"Clock-in Lock" restricts the location where the employees can clock in. IF the employee is outside the expected job area, the job will not allow the employee to clock-in.
The task (job) must have an address or coordinates attached for this to work.  Next, click on "Create Customer SmartFence." (A default fence can also be created and applied for multiple jobs.  If you go this way, make sure to follow the next steps when setting up the Default fence first, then you can select Default on the SmartFence option within the task and click on Save to complete it.)
Name the rule as you see fit.  Use the Search option to find the address and set the radius to the desired size. Next, click on "Create New" in the RULES section.

Next, setup the Clock in "Lock rule and parameters".  Open the Trigger drop-down menu and select the option "Clock In Lock Within Area":
Next, click on "Lock Phone" if you want employees not to be able to punch in to the job unless they are inside the specified area.  Leave this option disabled will allow them to select the task, but you can always create an alert to be notified whenever this happens.  When this is ready, click on SAVE to go back.
You will notice that the "Rules" section will be populated with the rule you created in the previous step.  Click on "Add Existing" to apply the rule.
When the rule is successfully applied, you will see it listed below  under ID and Name

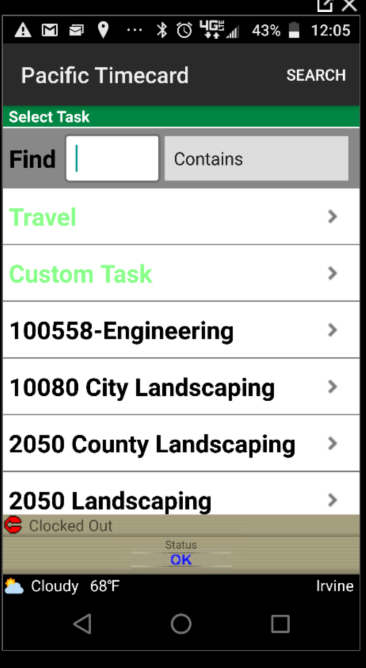
Next, we will cover how the "Clock-in Lock" feature works on the mobile device.  At the beginning of the day, you will be clocking in as normal, by seleting as task from the "Tasks List"


This time, these tasks will have the address and clock-in lock rules attached to them.  The device will use the current location and compare it to the expected location.  If outside the correct area, the clock in will not be accepted, if inside the clock in will be successful.
The device could take a little time to get the location, so a message could be sent with suggestions as to what to do to improve the GPS signal.  On the other hand, if you are outside of the expected area, you will get a message telling you that you are at the wrong location for the selected task, and the clock in or change task action will be unsuccessful.
If you have any questions please contact us.

Runtime Report

Whenever employees enable or disable the GPS tracking on the phone settings, it will generate an entry in the GPS Runtime Report:
 
This report is incredibly useful because there can be times where for some reason the  GPS tracking is not ideal on one of the employees, or there are empty spots in-between the breadcrumb train.  You can generate this report and confirm if the GPS was enabled or disabled at that point during the day

GPS-Google Traffic Timecard Map

First log into the Web Portal the first thing you see is "Home Lists" screen (where the map is located.)  If the map is not showing, click on the "Show Map" tab to the left and you will see something like this:

Next, click on "Filters" on the top right of the map and it will open a drop-down menu with different options to give you control of what you can see displayed.

 Finally, tick the "Traffic" checkbox and all the streets show colored lines according to the traffic statistics provided by Google:

New Enhancement: Bi-weekly Timesheet Signoff

We have a quick announcement to make on this post, we have just implemented a new much requested frequency for the  timesheet signoff :  B...